I just refinished a 1960's kitchen hutch that my wife inherited from her Grandparents. It was originally stained maple and through the years had been repainted various colors.
I sanded the entire hutch with a palm sander using 60 grit, then 120 grit and finally 400 grit sandpaper. I then went over the hutch with a tack cloth to remove any sawdust. Finally, I painted it with a brush using burgundy paint with a satin finish. The paint I used was both a primer and a paint, but it still took me 4 coats to finish it.
We thought about restaining it maple to its original finish, but opted to paint it instead. We are still trying to locate the original hardware, but I think the new knobs and hinges in nickel finish look good. In the before picture below, you can see how it looked after 3 coats of paint as well as the original maple finished had been removed.
This summer, my wife and I found a mirror on the side of the road someone had thrown away. We stopped and grabbed it thinking we needed one for our bedroom closet door. After dismantling the original mirror and adding my own frame, here is the final product.
The mirror measured 4 feet long and 1 foot wide. I stopped by my local big box home improvement store and picked up (2) 1" x 3" x 6' pine boards, 4 corner brackets and a package of mirror clips. The stain was left over from several projects that I will cover in later posts. The color is Dark Walnut.
The first step was to cut the 1 x 3s. Each 6 foot board was used for a side and a top or bottom. I took each 6' board and made a 45 degree cut on one end using a miter saw. Then measuring 4 feet from the inside of the miter cut, cut the other end at a 45 degree angle. I then cut the top and bottom pieces at 45 degree angles that measured 1' each.
Then I stained each of the boards following the instructions on the can and let them dry. I have found that when applying stain, using rubber gloves and an old rag to dip in the stain and apply it seems to work best for me.
Gathering the materials
After the stain had dried, I gather the mirror, boards, brackets and clips for final assembly.
Installing the first angle bracket
First, I attached the angle brackets to the back of the wood frame. Even though the boards were cut at a 45 degree angle, you will need something to ensure the boards are at a 90 degree angle when installing the angle brackets. Using a speed square and screw driver, I installed the angle brackets one at a time.
Installing more angle brackets
When all of the brackets were installed, I laid the mirror across the back of the wood frame and installed the mirror clips.
Install mirror clips
When installing the mirror clips, I just spaced them out evenly around the mirror. You will need enough clips to ensure that the mirror is tight against the wood frame all the way around. This seemed to work fine for me and I did not see the need to use any type of adhesive.
After all the clips were installed, I installed the hangers to the back of the mirror. These over the door hangers were on the mirror when I found it, but I have also seen where you can buy them separately.
Good evening all. My wife and I were lucky enough to discover a
large blackberry patch by the parking lot of a local grocery store. With
the wounds to show for it, we were able to pick enough blackberries to
can 29 half pints jars of blackberry jelly.
The process was fairly straight forward, with the most time spent actually picking the berries. The recipe used was from the Mountain mama.
We made a few changes in the process, and a minor variation to her
recipe. The following process will yield approximately 7 half pint jars.
After spending several days collecting enough berries, we gathered the remaining ingredients as seen here.
Getting prepared
You might notice in the picture above, the frost on the blackberries.
While gathering the needed berries over several days, We elected to
store them in the freezer to preserve them until We had gathered enough
berries. You will need 3-1/2 to 4 cups of blackberry juice. This past
spring was fairly dry, so the blackberries were not, on average, as
large we had hoped. We discovered that we needed 1 qt of berries for
every cup of blackberry juice. Luckily, last summer, we found a juicer
that was only used by a little old lady on Sundays at a yard sale for
$10. I wasn’t sure at the time exactly what I would need it for, but as
it turned out, it worked great for extracting the juice and more
importantly, removing the seeds.
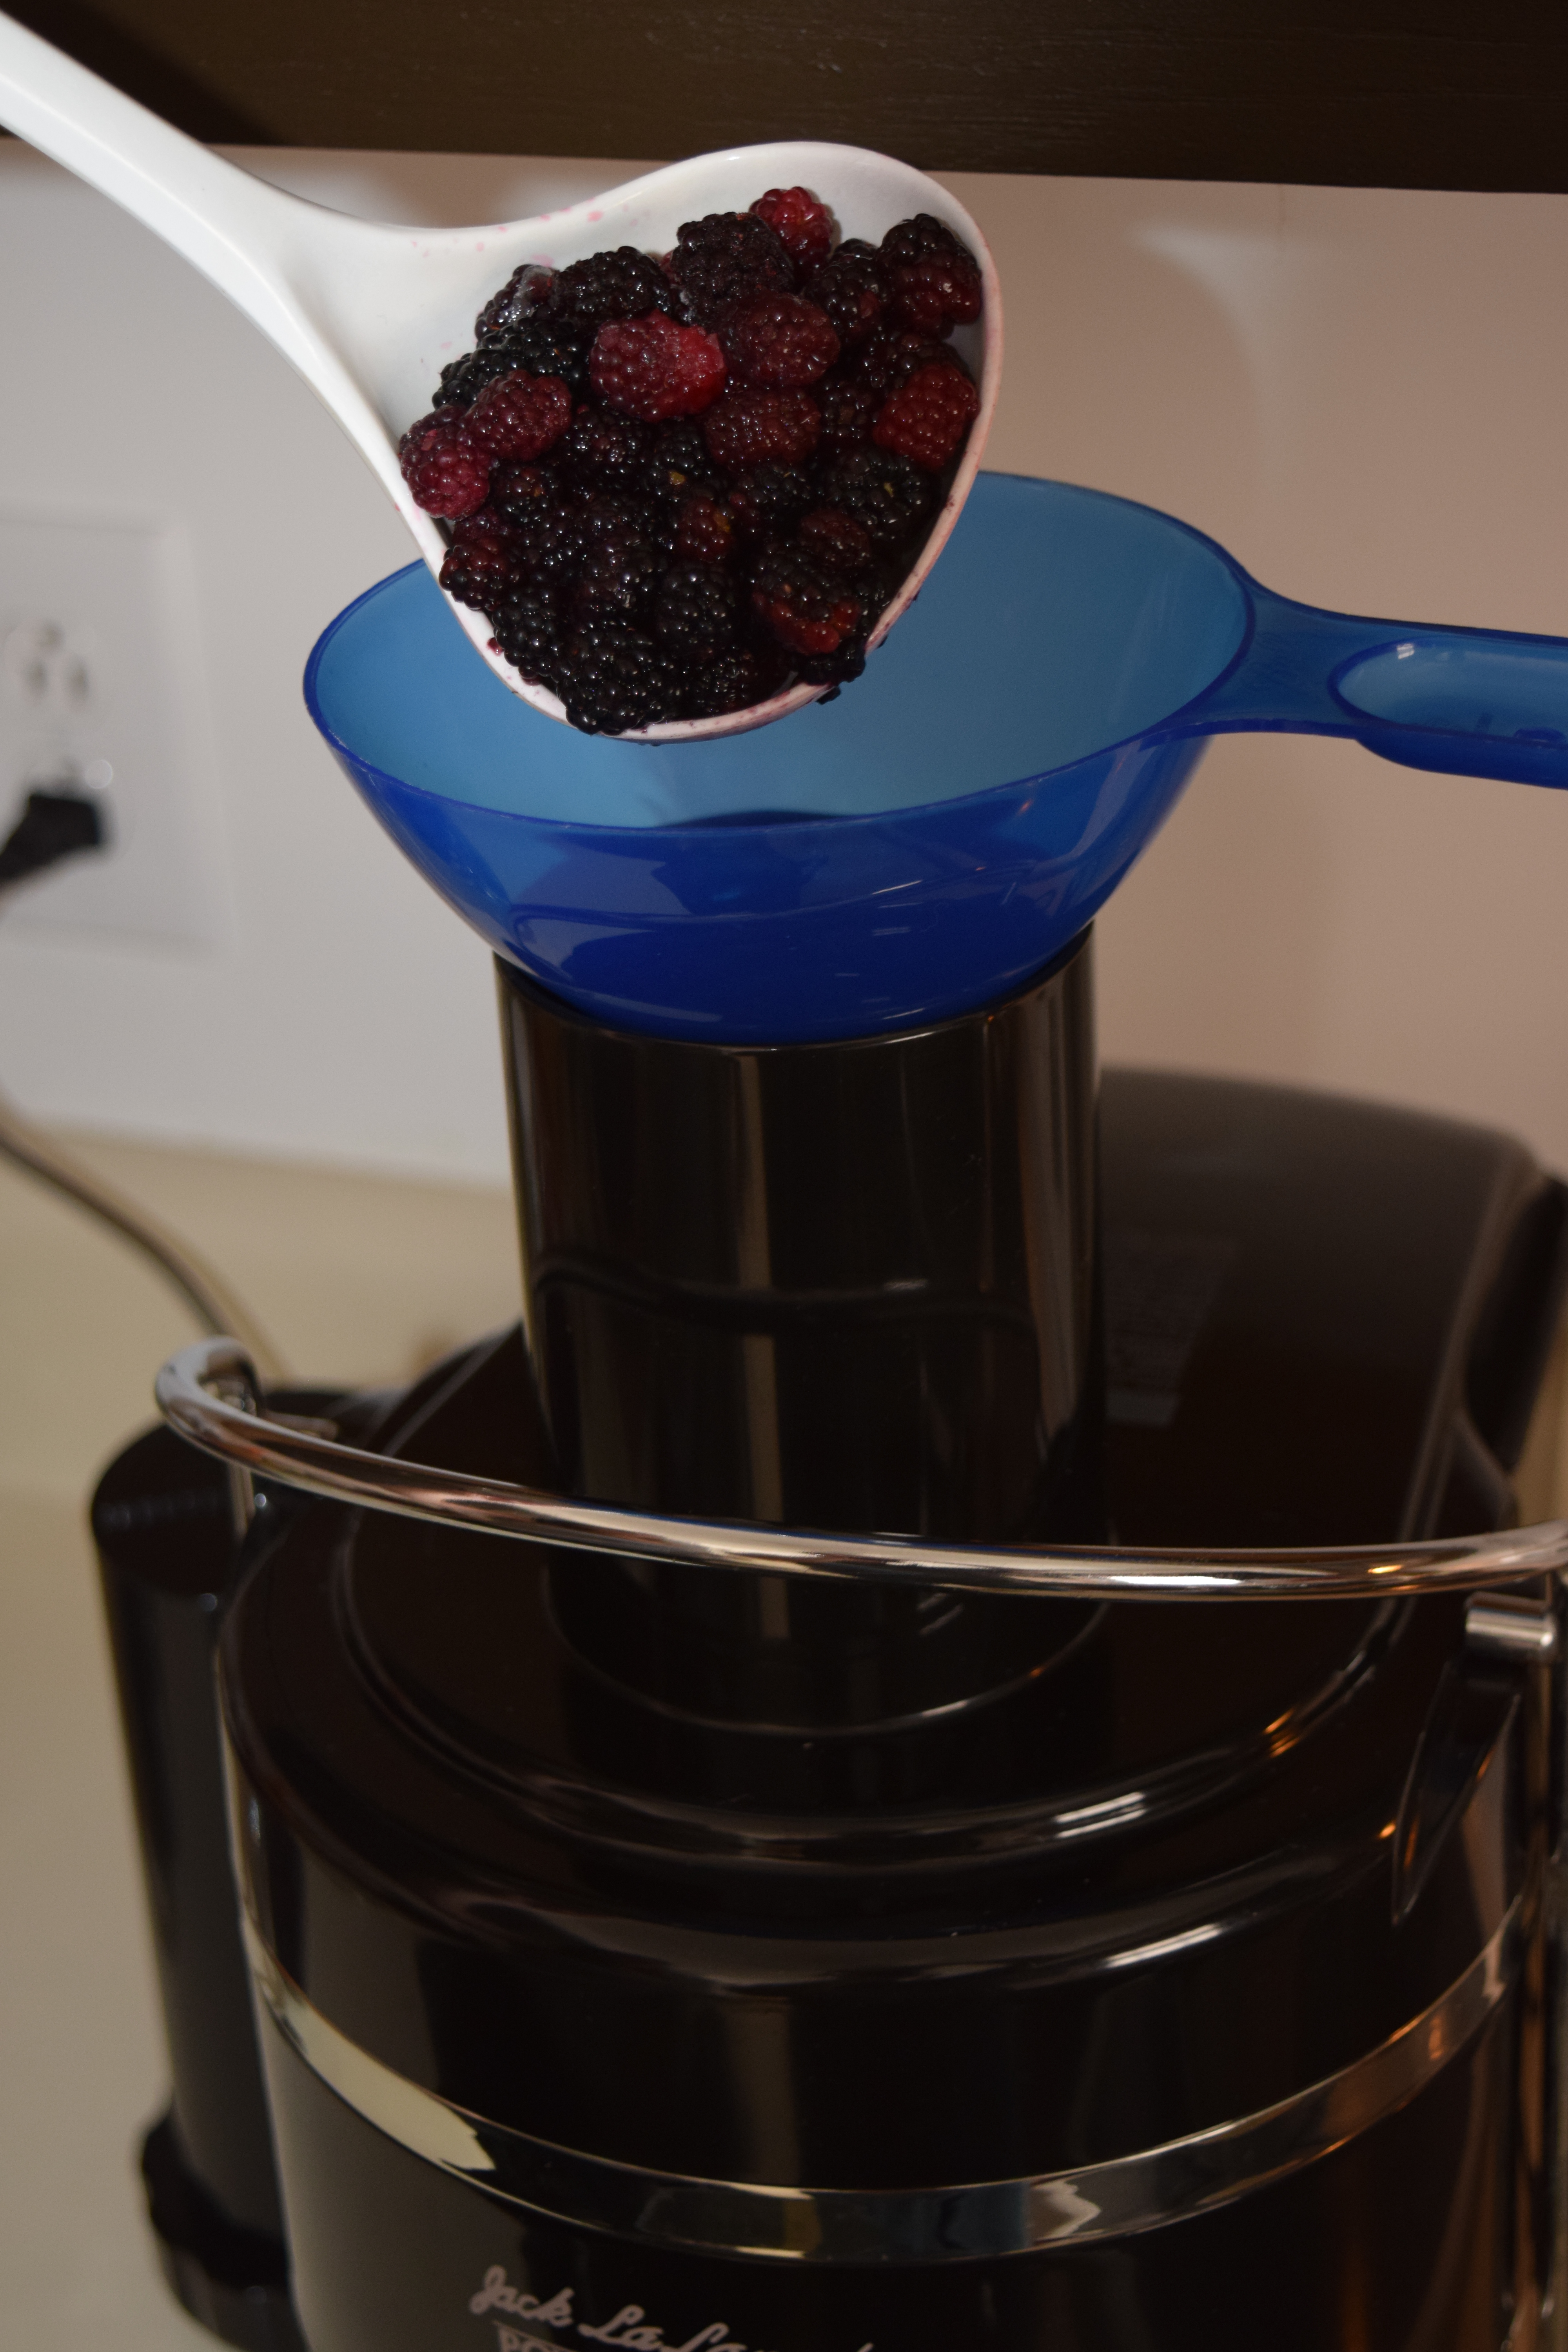
Loading the juicer
As you can see in the picture above, I simply loaded the juicer with berries, after they had thawed, and extracted the juice.
Extracting the juice
I just repeated the process until I had 4 cups of juice. If you don’t
have enough berries, you can add water to the juice to bring it up to 4
cups. My juicer removed 99% of the seeds, and believe me, there were a
ton of them. To remove the remainder of the seeds, I strained the juice.
You can strain the juice using cheesecloth. I had trouble finding
cheesecloth the first time I made the jam when my wife mentioned I could
use pantyhose. I needed something, so I figured why not. It actually
worked pretty good and after finding some cheesecloth and trying it, I
went back to the pantyhose. I just used a cheap pair of knee highs. It
was easier to scoop the blackberry juice into them, than trying to keep
the juice from flowing over the edges of the cheesecloth. I started to
post the pictures, but my wife said they looked like I was performing
surgery. I would have to agree with her, so I left those pictures out.
Another word of advice, when straining the blackberry juice, use rubber
gloves. Blackberry juice stains everything. Also, when straining, don’t
try to get every bit of the juice out. Pulp will gather at the bottom of
the cheesecloth/pantyhose and you don’t want to put it back in your
juice. It won’t affect the taste, but the final product will not be as
clear.
Once you have strained your juice, you will probably want to start
preparing your jars. Wash and dry your lids and rings and set them
aside. Place the empty jars, without rings or lids on them, in your
canning pot and cover with water. On medium high heat, bring the
water/jars to 180 degrees F and “cook” for 10 minutes. After 10 minutes,
you will want to keep the jars at 180 degrees until you need them.
Prep the jars
While the jars are “cooking”, you can go ahead and finish preparing the blackberry jelly.
In a large pot, add your 4 cups of blackberry juice, 2 tablespoons of
lemon juice and pectin. I used 6 tablespoons of Ball Realfruit Classic Pectin. The amount of pectin required may very based on the type of
pectin you use. Make sure you follow the directions on the package.
Stirring the mixture
On medium high heat, bring the mixture to a rapid boil while stirring
constantly. You want to boil the mixture for 1 minute. Next, add 5 cups
of sugar to the mixture. You will want to stir constantly until all the
sugar has dissolved and it starts to boil again. This will take about
10 minutes.
Adding the sugar
After the mixture returns to a rapid boil, continue to boil for 1
minute. Then remove from heat. Carefully, removed 1 jar from the
simmering water bath.
Remove a jar for filling
Fill the jar with the blackberry jelly, being sure to leave 1/4 inch of headspace.
Filling 1 jar at a time
After filling, use a damp cloth to clean the rim of the jar. Then
place a lid and ring on the jar and finger tighten the ring. Repeat this
process until all jars a filled.
Cleaning the rim of the jar
Place all filled jars in the canner basket and carefully lower into
the 180 degree F water bath. Make sure the water covers the jars by at
least 1 inch. If you need to add water, then do so. Cover and bring
water to a roiling boil and process for 10 minutes.
Processing the jelly
After 10 minutes, remove from heat, remove cover and let the jars cool for 5 minutes.
5 minute cool down
After 5 minutes, remove the jars from the water bath and place on a
dry towel. Do not retighten rings if they are loose. Let them cool for
12 hours.
12 hour cool down
After 12 hours, check the seals and store in a cool dry place. Enjoy!!!!!!


